

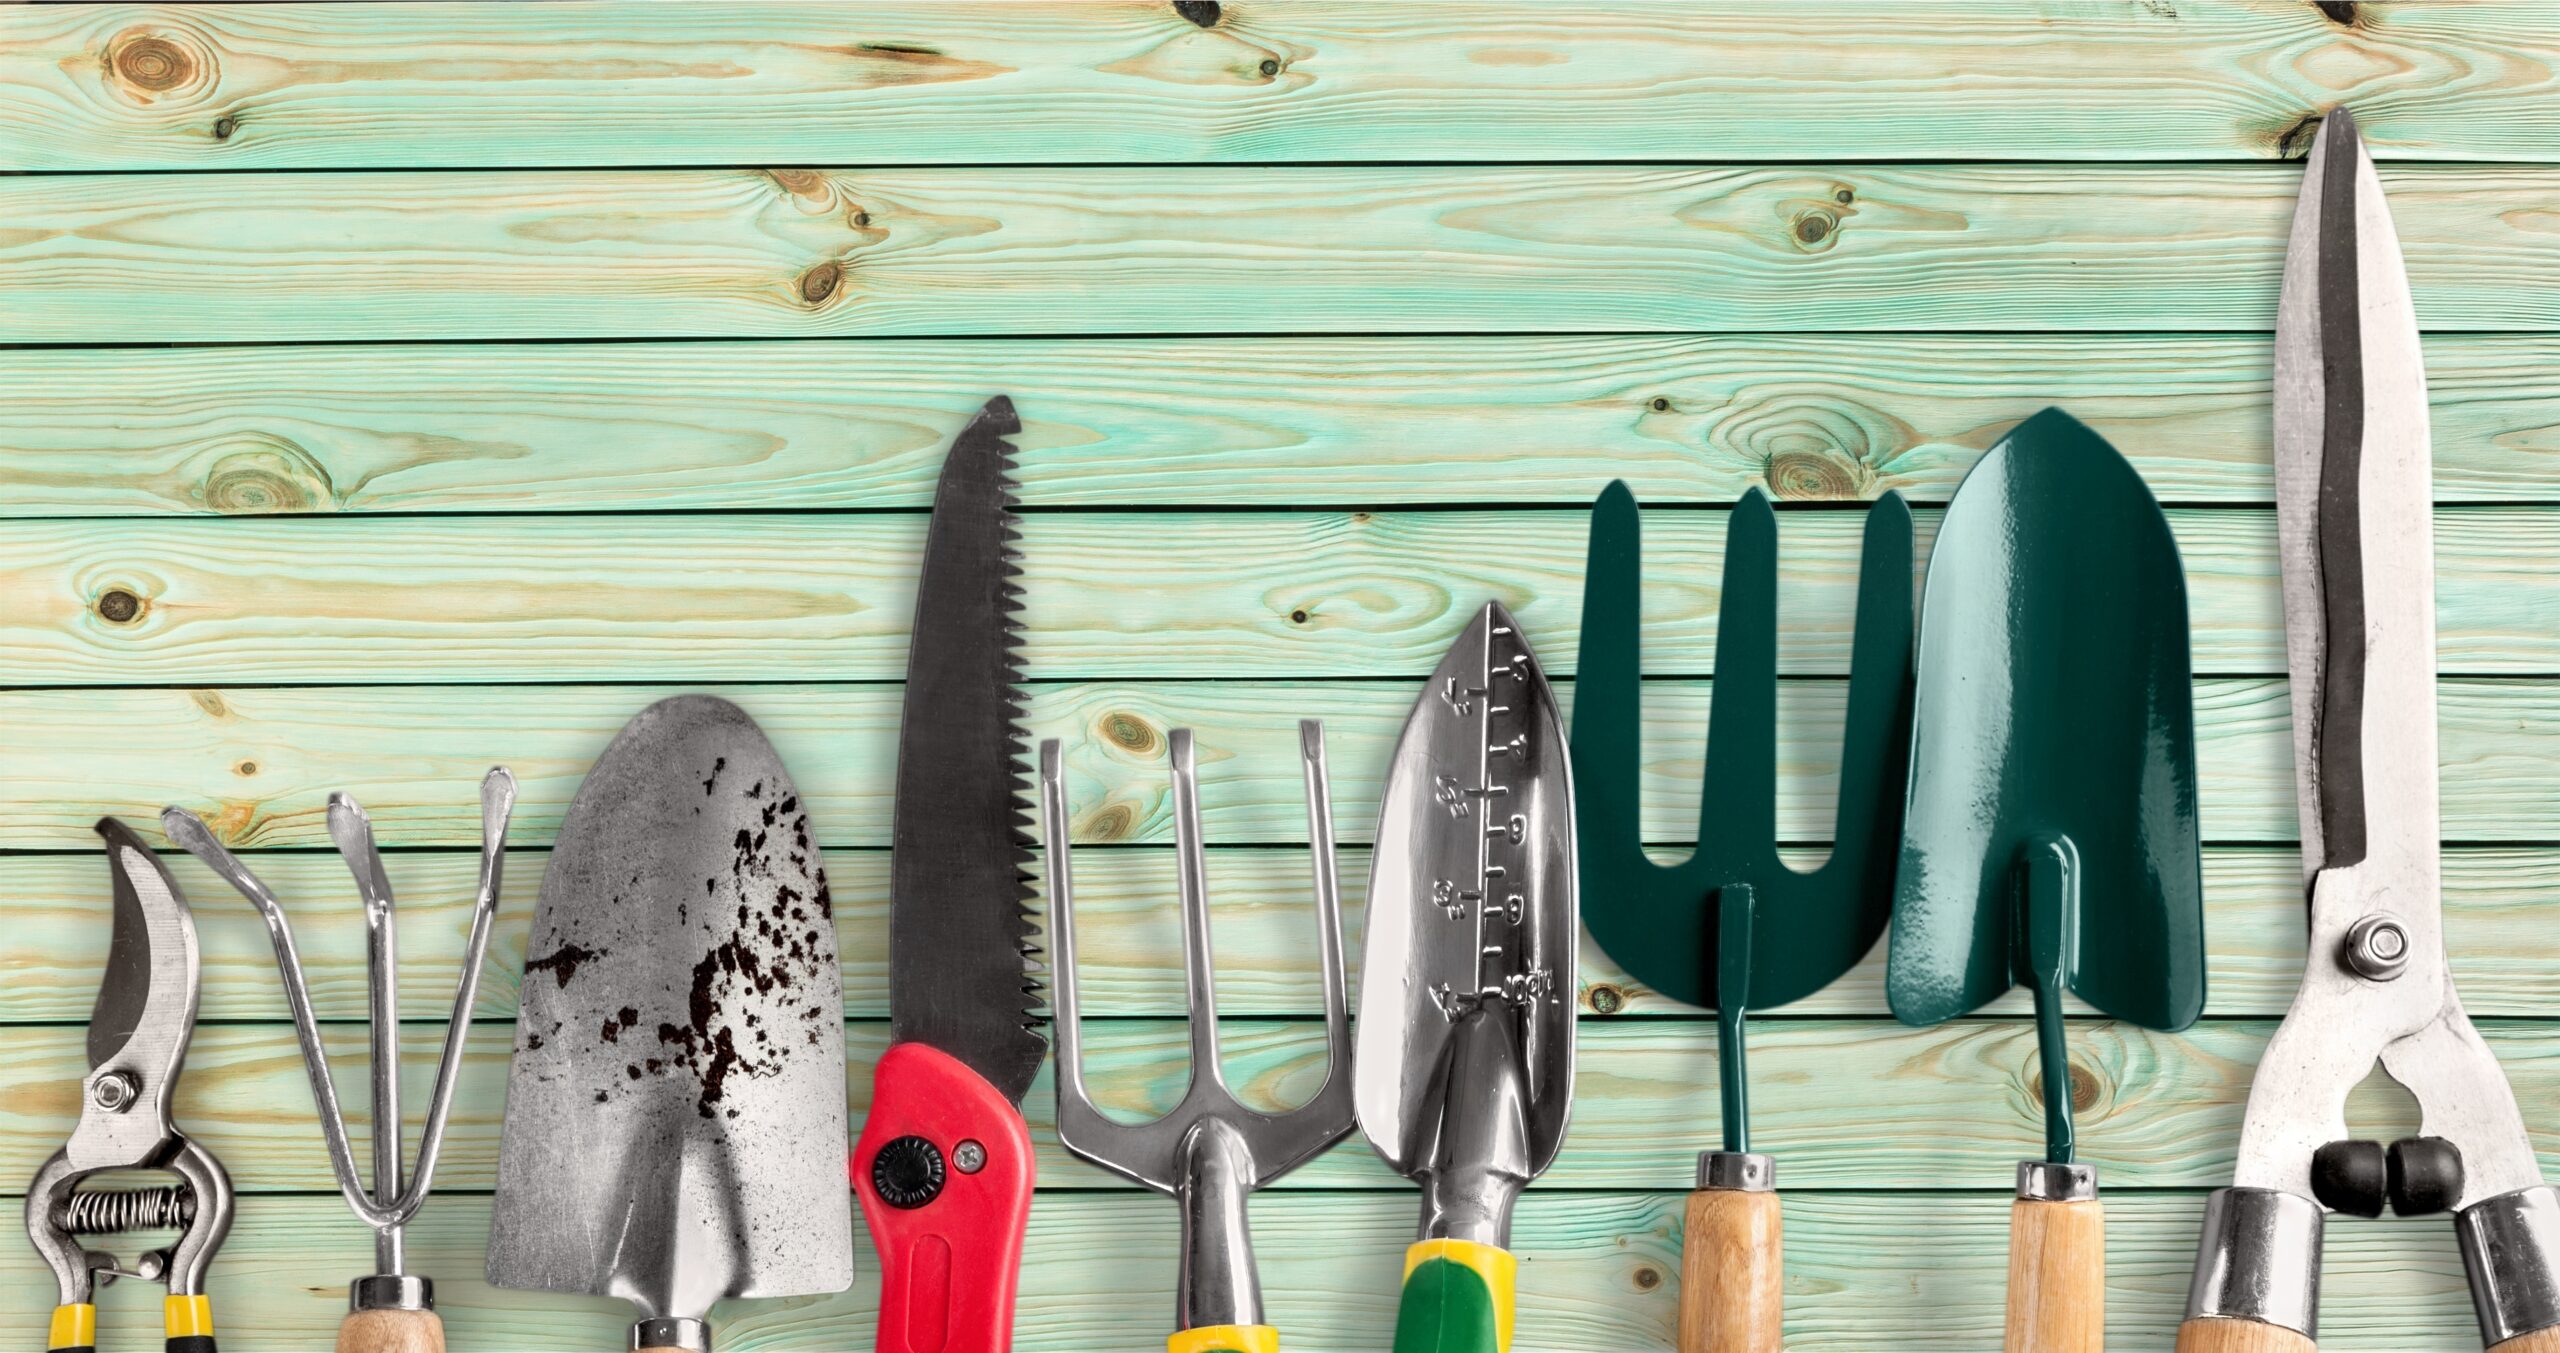
A Fall Guide to Garden Tool Care
You’ve worked hard all season tending your garden and landscape, and you’re ready for a well-deserved break. But before you kick back, there’s one last chore worth tackling: giving your garden tools a little TLC before tucking them away for the winter.
Though tools should ideally be cleaned after each use, let’s be honest, that doesn’t always happen. By fall, many of us have pruners coated in sap, shovels caked in dirt, and blades starting to rust. A quick maintenance session now will protect your investment, extend your tools’ lifespan, and make spring gardening a whole lot easier.
Step 1: Clean Your Tools
All that digging, pruning, and cultivating adds up to a season’s worth of soil, sap, and plant debris. Ignoring that grime can lead to rust, dull edges, and even the spread of plant diseases.
Start with a basic clean:
• Knock off large clumps of dried mud or debris using a rag, paper towel, or stiff brush.
• Wash metal surfaces with warm, soapy water and a scrub sponge.
• For stubborn grime, use a stainless steel or non-scratch steel wool pad to scrub the metal clean.
• Rinse and dry thoroughly with a soft cloth.
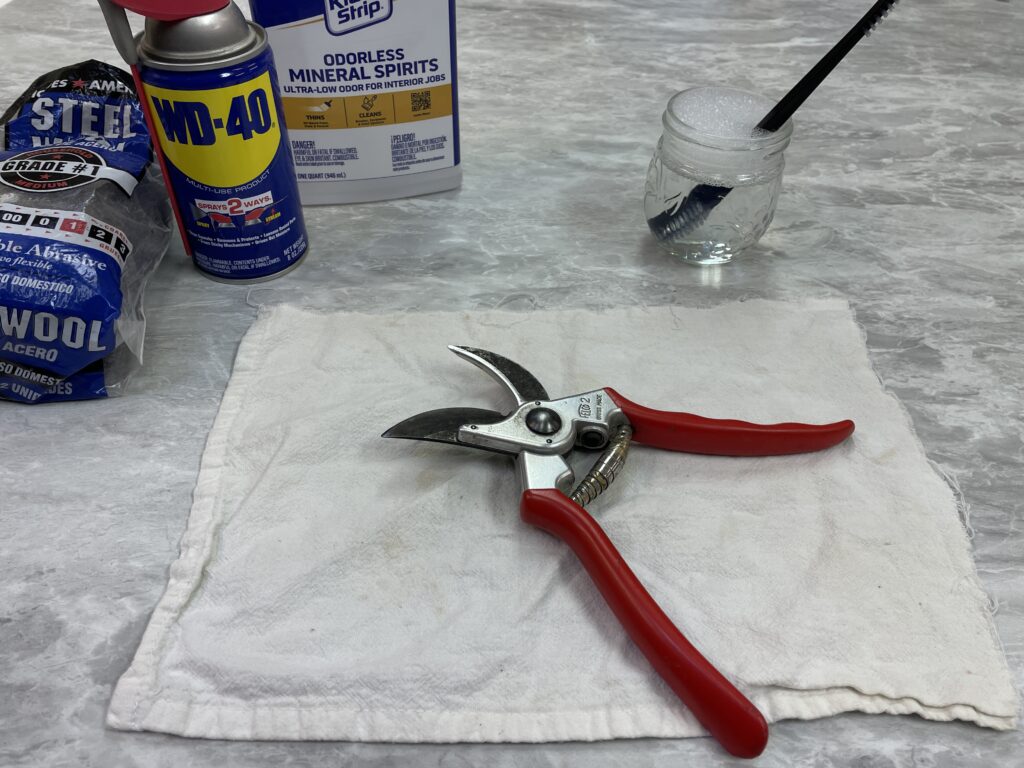
For pruning tools:
• If your pruners come apart easily, consider taking them apart to get a more thorough clean. But take photos as you disassemble them as a reference as you reassemble them.
• Remove sticky sap with a rag dipped in mineral spirits or WD-40.
• If there’s rust, apply a bit of WD-40, let it soak for about 10 minutes, then scrub with coarse steel wool.
For larger tools (shovels, hoes, rakes):
• Use a stiff wire brush or a putty knife to scrape off caked-on soil.
• Rinse or wipe down with soapy water, then dry completely.
• A little extra effort here prevents rust and keeps your tools working smoothly for years to come.
Step 2: Sharpen Your Tools
Sharp tools make gardening easier, faster, and safer. Dull blades require more effort and can crush stems rather than cutting cleanly.
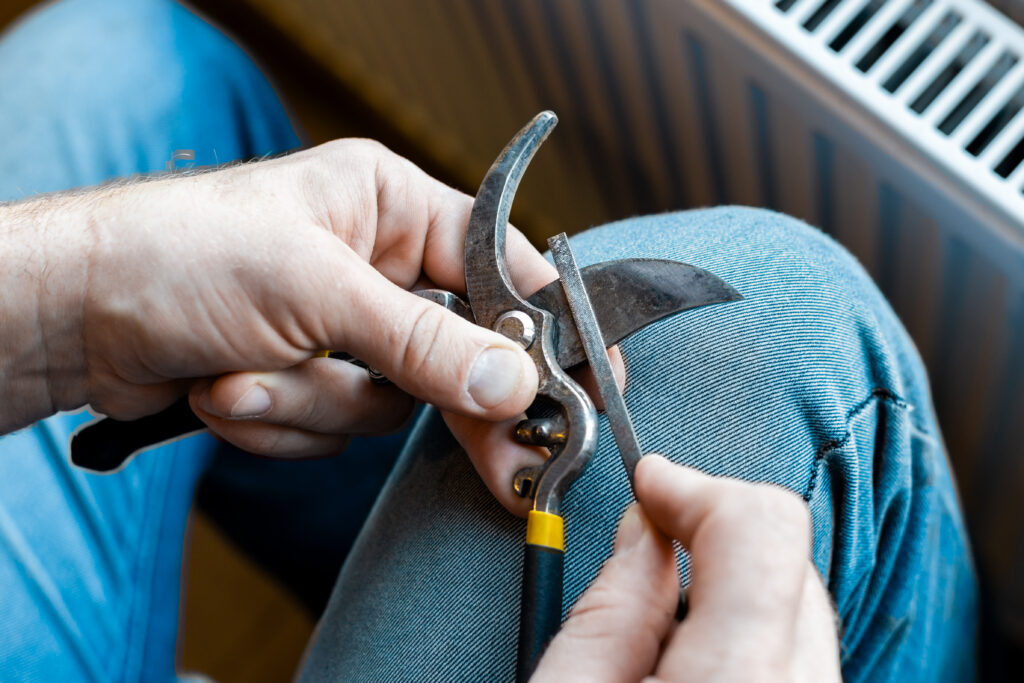
For pruning shears and loppers:
• Use a sharpening stone or diamond file.
• Hold the tool securely and draw the file along the beveled edge, following the factory angle.
• Sharpen in one direction, from inside to outside.
• For bypass pruners, sharpen only the outside of the cutting blade.
• When done, lightly run the file across the back edge to remove burrs, then reassemble.
For larger digging tools:
• Run a coarse file along the edge of shovels, hoes, or spades at a consistent angle to create a clean edge.
• This doesn’t need to be razor-sharp, just enough to make cutting through soil and roots easier.
Step 3: Oil and Protect
Once everything’s clean and sharp, it’s time to prevent rust and keep parts moving smoothly.
• Wipe all metal surfaces with a lightly oiled rag. Mineral oil works great because it’s non-toxic and provides a protective layer against moisture.
• Add a drop or two to the pivot points on pruners or shears, then work the handles to distribute it evenly.
• Don’t forget wooden handles. Lightly sand any rough spots, then rub in a thin coat of mineral oil to prevent cracking and splintering.
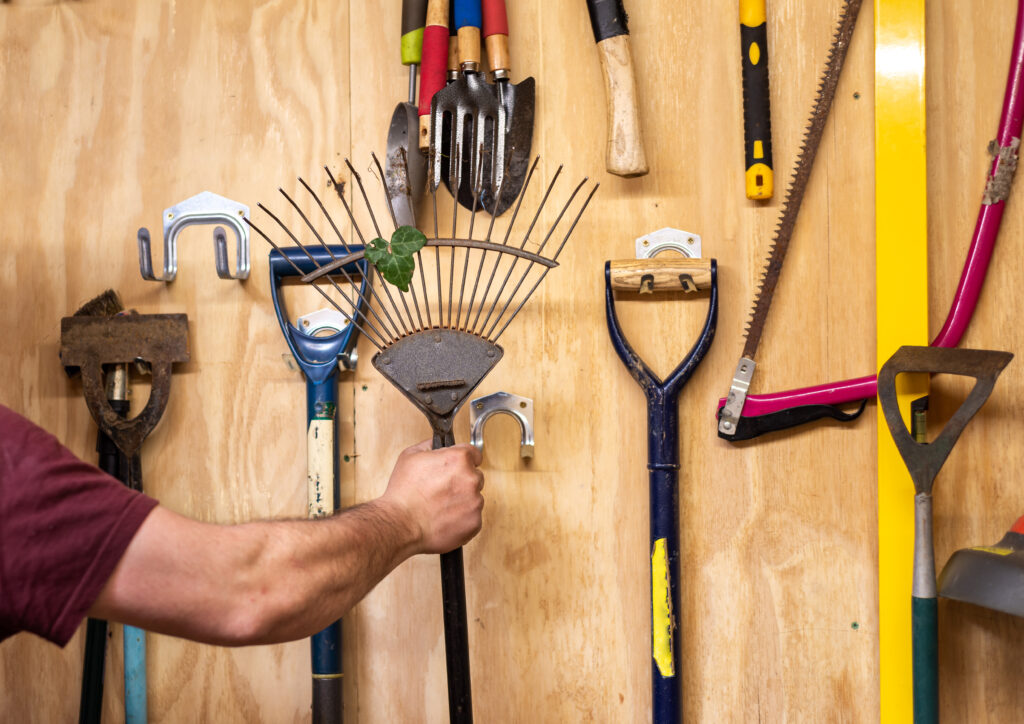
Step 4: Store for the Season
When your tools are clean, sharp, and oiled, store them in a dry place. Hanging them on a wall or pegboard keeps them off the ground and away from dampness.
The Spring Payoff
Spending a little time on fall tool care is an investment that pays off every spring. You’ll start the season with clean, rust-free, sharp tools that are ready to work, no scrubbing, sharpening, or frustration required. Your future self will thank you when planting season rolls around.
CATEGORY
11/04/2025


a word from our viewers