

Growing Garlic: From Fall Planting to Summer Harvest
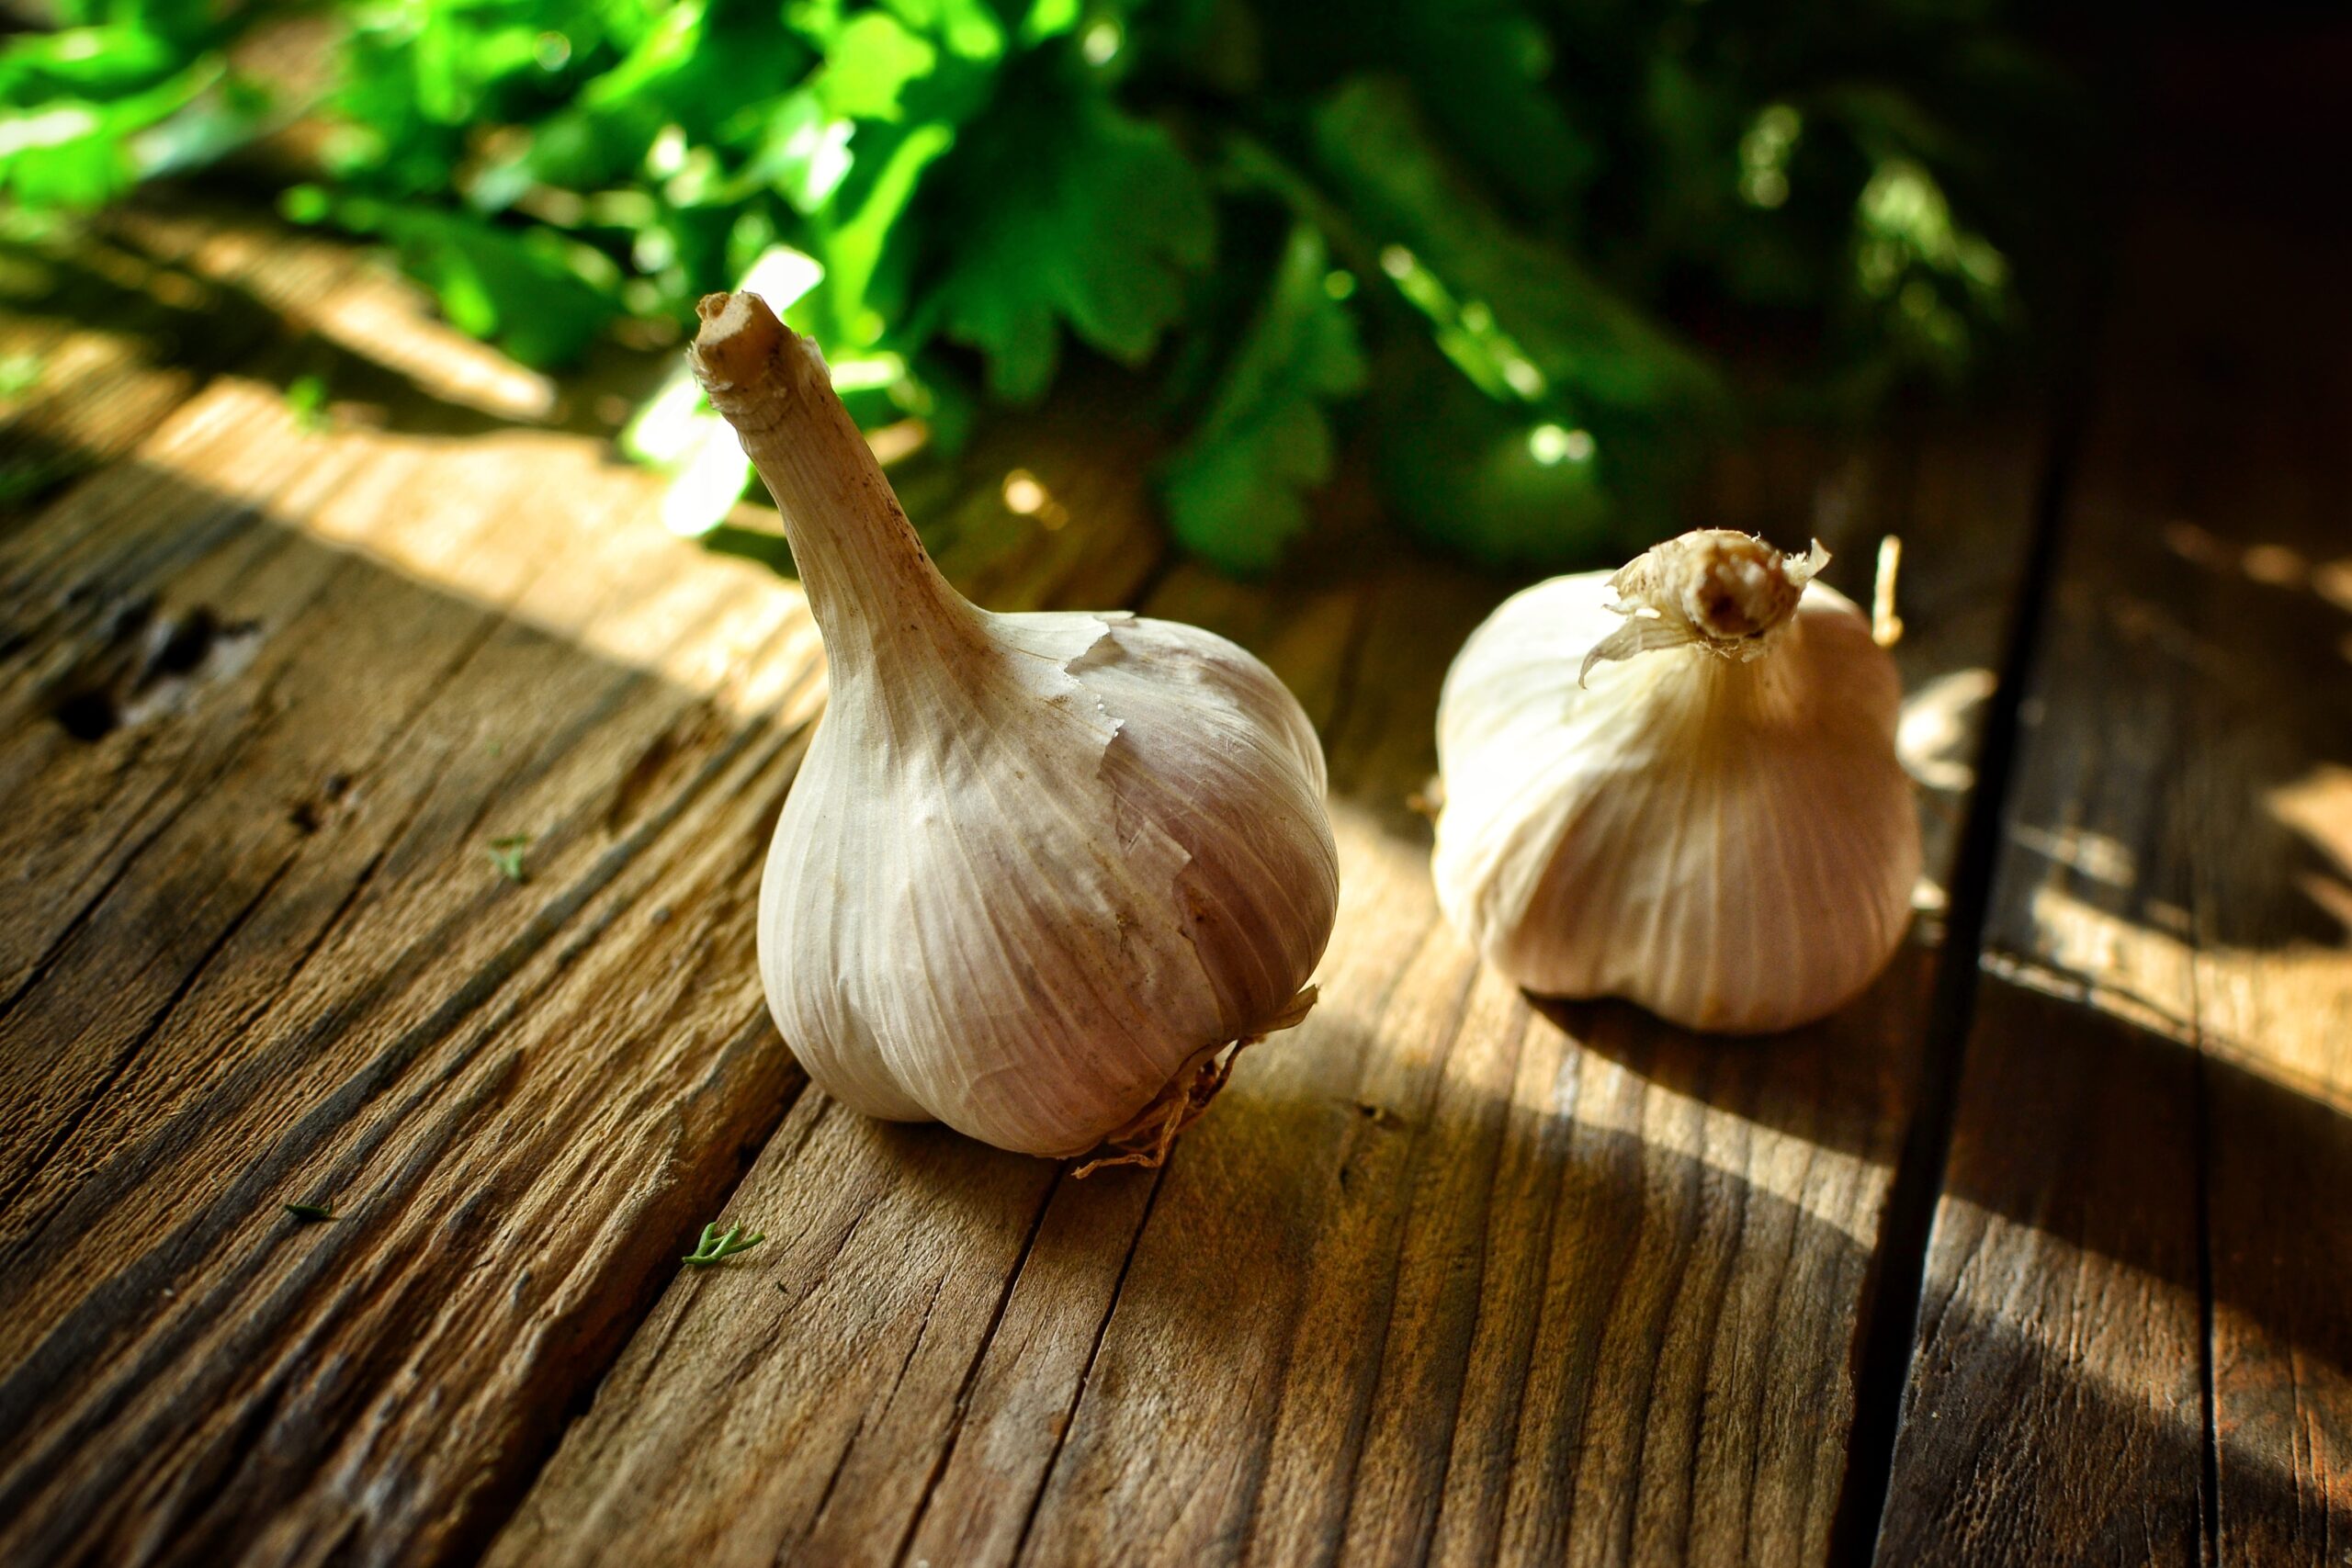
Garlic is one of the easiest and most rewarding crops you can grow in your garden. With just a little effort in the fall, you’ll be rewarded the following summer with bulbs full of rich, homegrown flavor. Here’s everything you need to know about planting garlic in your own backyard.
Why Plant Garlic in Fall?
Garlic needs a period of cold weather, called vernalization, to form big, healthy bulbs. By planting in the fall, you give the cloves time to grow roots before winter sets in, then let them rest through the cold. Come spring, they’ll shoot up strong green leaves and begin forming bulbs underground.
When to Plant: Plant garlic a couple of weeks after the first frost. The goal is to establish roots before the ground freezes solid but not grow enough that shoots appear above ground. While these shoots often survive the cold and re-sprout in spring, they may be damaged by the frost, potentially stunting the plant’s overall development.
Choosing Garlic Varieties
There are two main types of garlic:
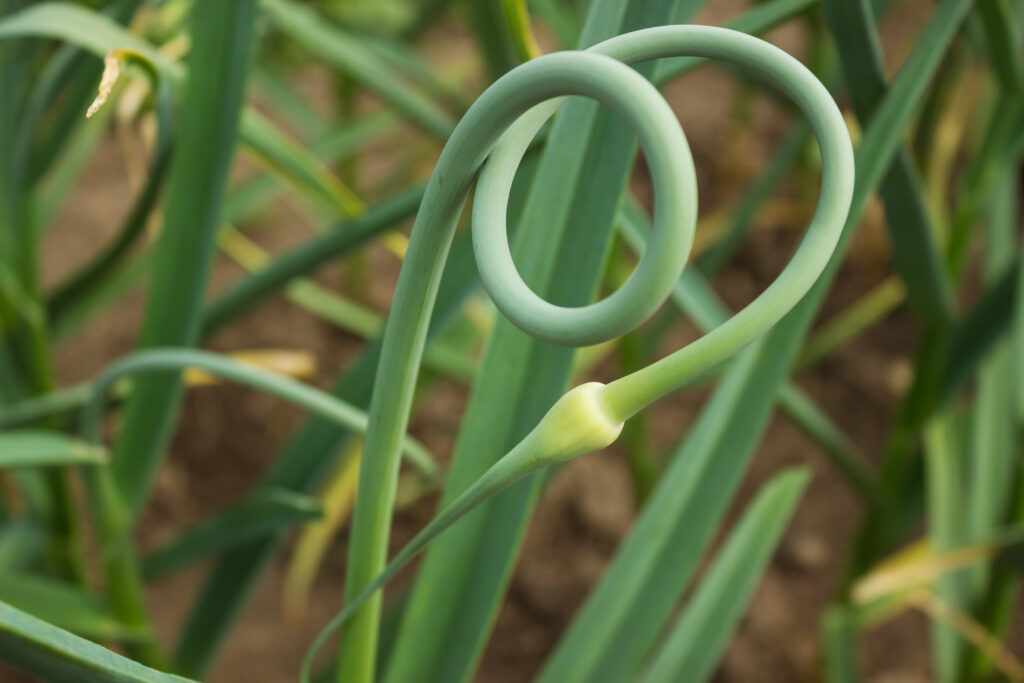
Hardneck – Produces a stiff central stalk and a flowering stem called a scape (a delicious bonus crop!). Hardneck garlic is cold-hardy and has bold, complex flavors.
Softneck – Doesn’t produce scapes and has flexible tops, which are easy to braid. Softneck varieties often store longer than hardneck.
Due to the white rot quarantine on alliums in Idaho, home gardeners cannot order garlic seed bulbs from out-of-state vendors. Check your local garden center to purchase certified white rot–free seed bulbs.
Step-by-Step: How to Plant Garlic
- Pick the Right Spot – Garlic likes full sun and loose, well-drained soil. Raised beds or garden plots enriched with compost are perfect. Avoid spots where you’ve recently grown onions, leeks, or shallots to reduce disease risk.
- Prepare the Soil – Work in compost, worm castings, or well-rotted manure to add nutrients. Garlic prefers slightly acidic to neutral soil (pH 6.0–7.0).
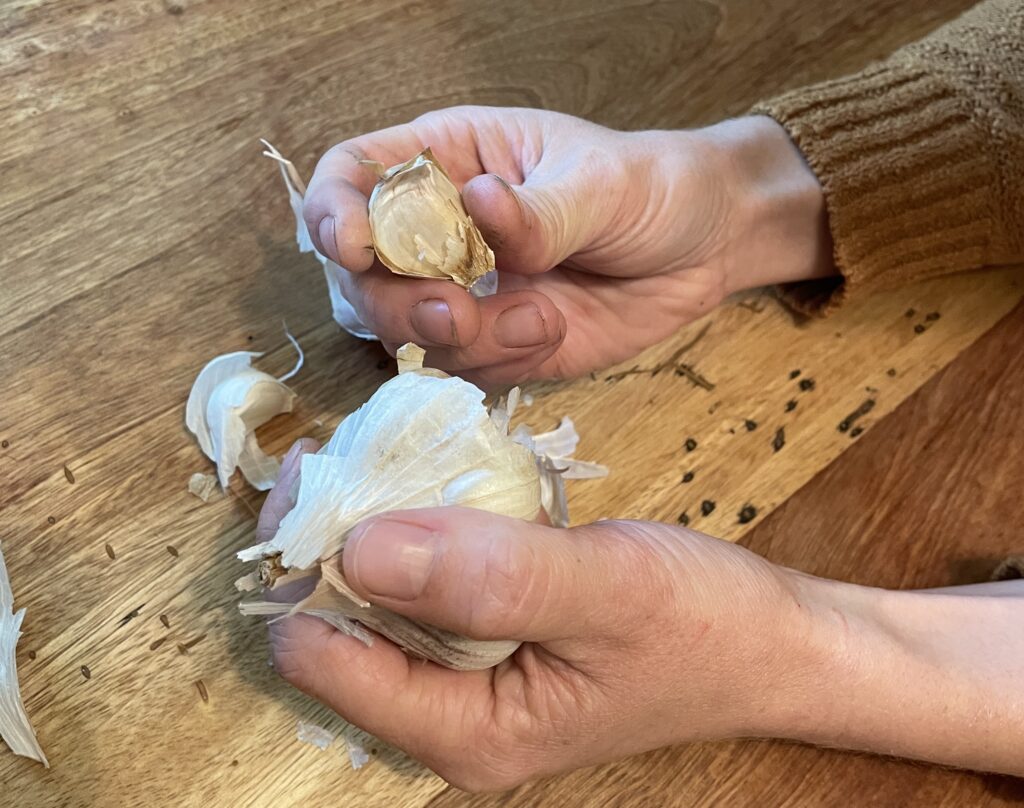
- Break Apart the Bulb – Just before planting, gently separate the bulb into individual cloves. Keep the papery skins on—they protect the cloves from rot.
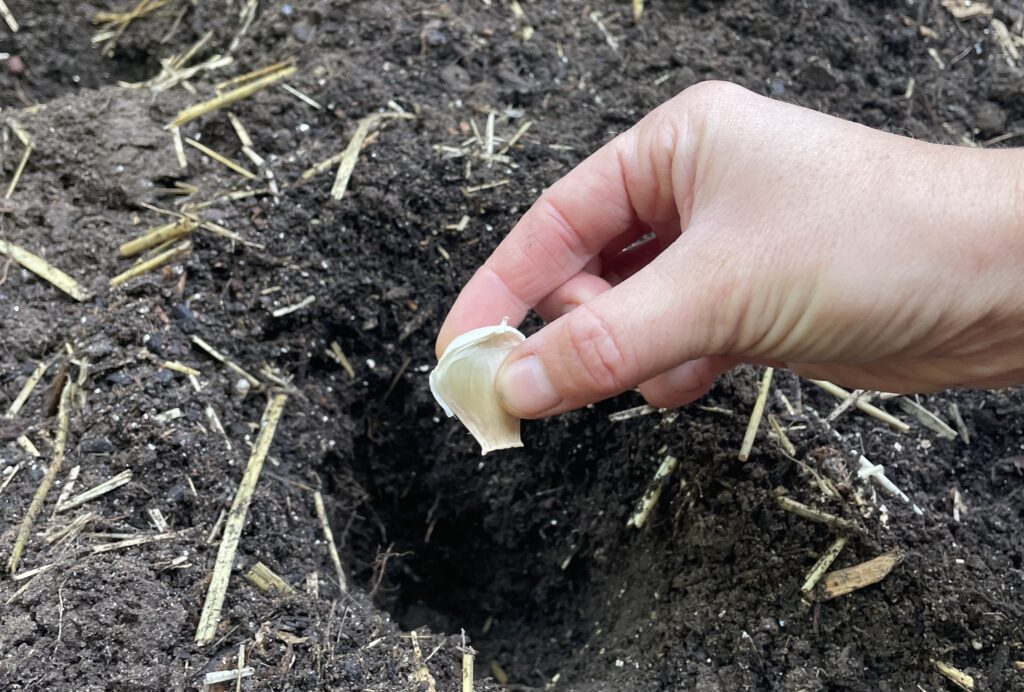
- Plant the Cloves – Space cloves about 6 inches apart in rows 12 inches apart. Plant each clove with the pointy side up and the flat root end down. Bury them 2–3 inches deep (about 2-3 times the height of the clove).
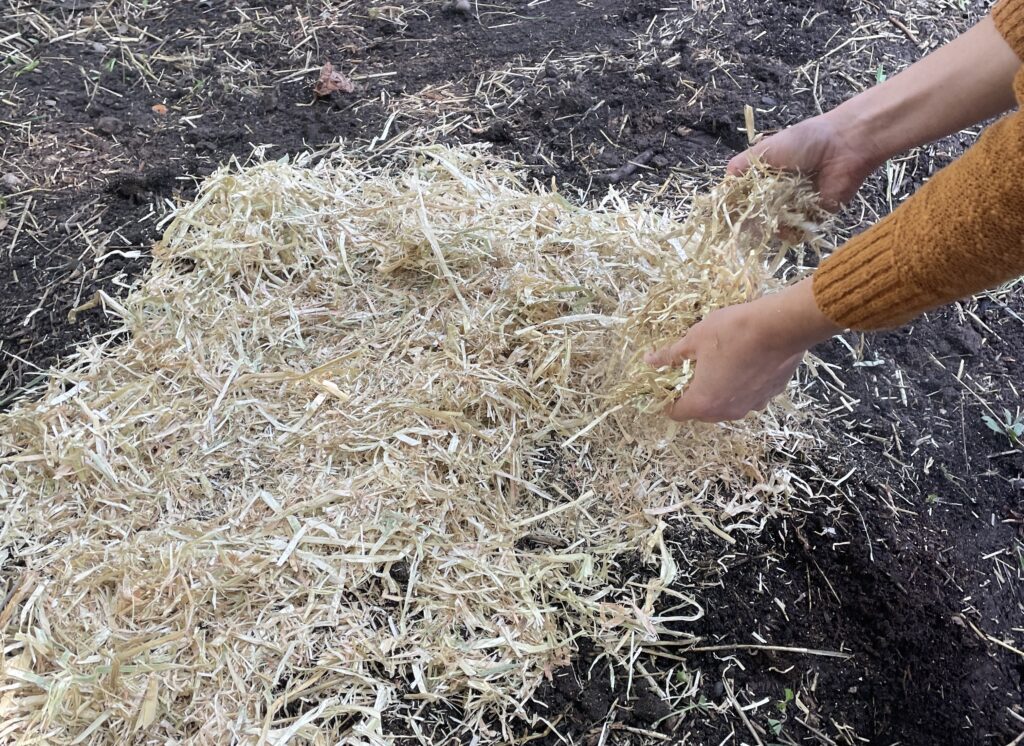
- Mulch Generously – Cover the bed with 3–4 inches of mulch (straw, shredded leaves, or grass clippings). This helps regulate soil temperature, prevents weeds, and protects cloves over winter.
Caring for Garlic
Watering – Water deeply during dry spells in fall and spring, but stop watering a couple of weeks before harvest.
Weeding – Garlic doesn’t like competition. Keep the bed tidy.
Spring Fertilizer – A light side-dressing of compost or nitrogen-rich fertilizer in spring helps boost growth.
Harvesting Garlic
By mid-summer, garlic is ready to harvest when the bottom leaves start turning brown, usually in July. Don’t wait too long—if left too long, the bulbs may begin to separate in the ground. Use a garden fork to gently loosen the soil, then carefully lift the bulbs. Avoid tugging on the stalk, or it may separate from the bulb. Gently brush off an loose soil on the bulbs, but do not wash the bulbs with water.
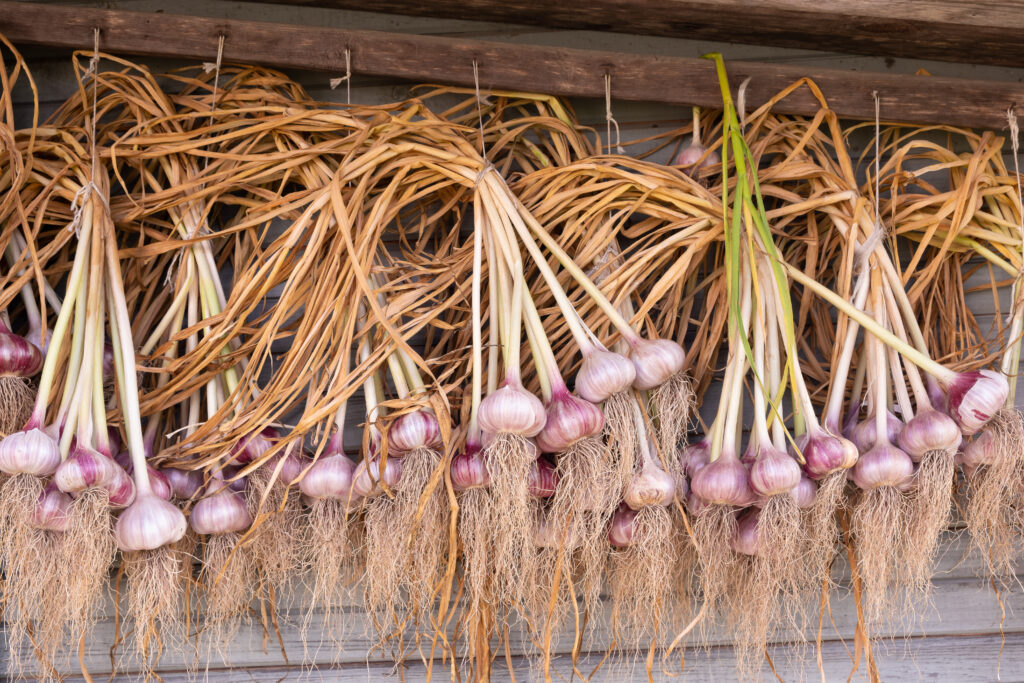
Cure the bulbs by either hanging them in bundles or laying them out on a screen or shelf in a cool, dry, well-ventilated spot for 2–4 weeks. A garage or covered porch works well. The garlic is fully cured when the outer skins are dry and papery and the necks are crispy.
Once cured, trim the roots and cut the neck to about 1–2 inches above the bulb. Your garlic is now ready for storage or to flavor your favorite recipes. Save your largest, healthiest bulbs for replanting next season and enjoy being garlic independent!
CATEGORY
10/02/2025


a word from our viewers